How to Livestream Events: Pro Tips for a Smooth Livestream
Educators, business owners, performers, and government officials across the world have discovered the benefits of livestreaming events. Especially since the Coronavirus pandemic, virtual events have dramatically increased in popularity and sheer need. Livestreaming is great for events like:
- Graduations 🎓
- Conferences 🧑💼
- Concerts & Performances 🎺
- Meetings 💻
- Sporting Events 🏀
Whether you’re a small business owner or the CEO of a large organization, you may want to share your events with more people that can’t be there in person. Use this guide to learn how to livestream events and start growing your audience.
How to Livestream: The Easy, Low-Quality Way
You have two options when it comes to live streaming events. You can either do it in an easy, low-quality way or a high-quality professional way. Your decision will likely come down to the type of event you’re hosting.
If you’re doing a small product demonstration out of your home office, you can get away with the easy way. But if you’re putting on a larger event like a graduation ceremony or concert, you’ll want to follow the steps in the next section.
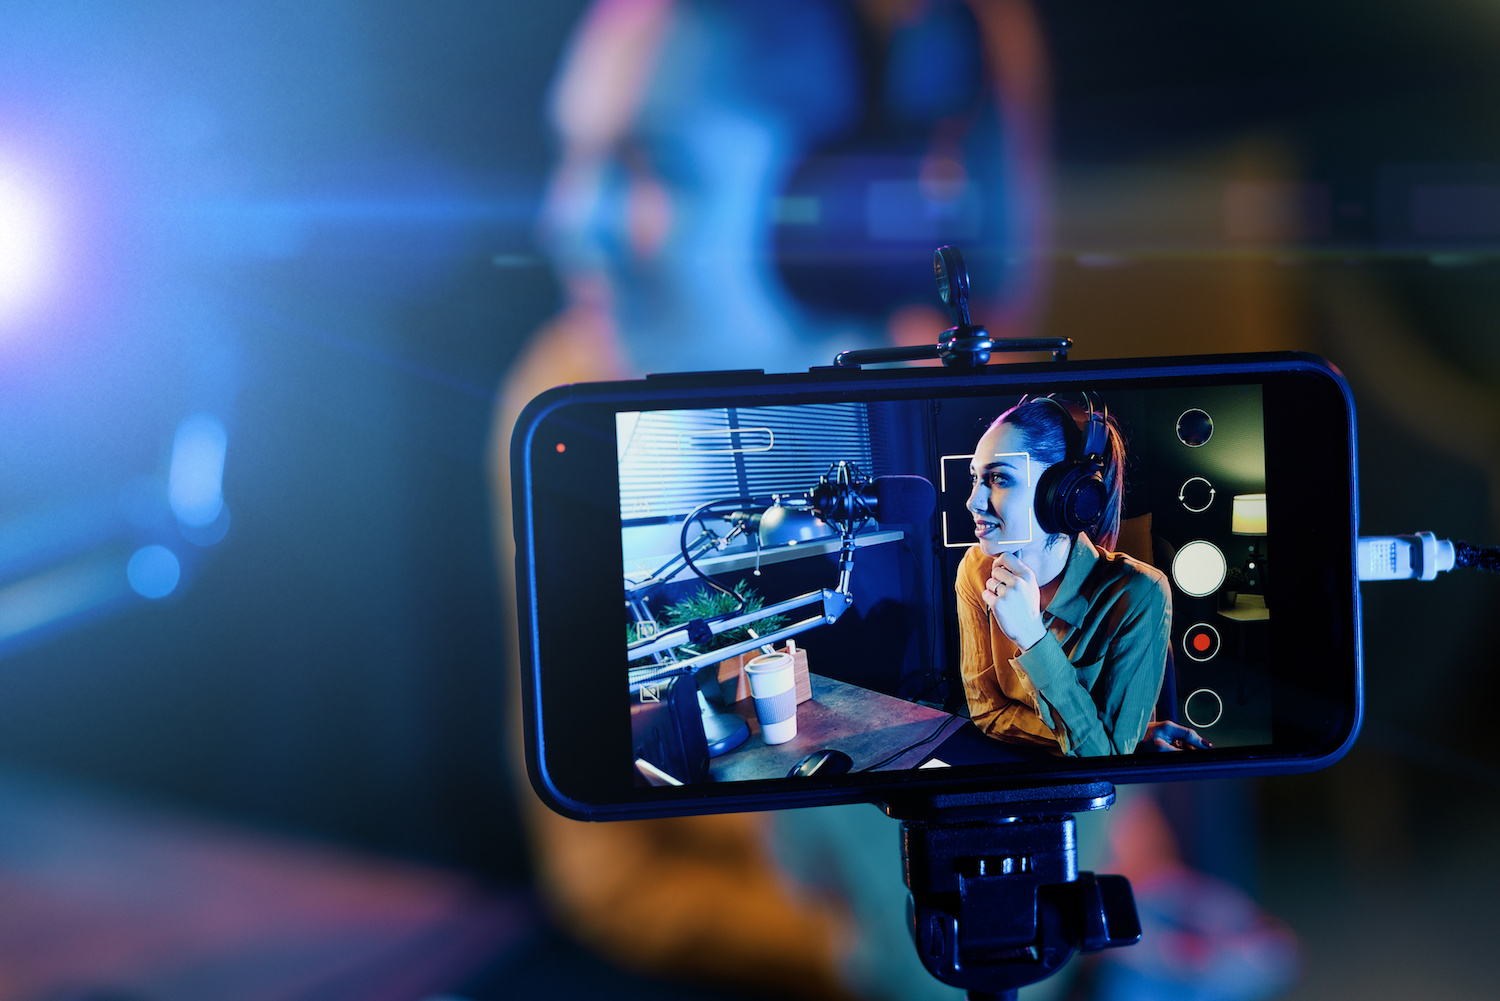
To livestream in the cheapest way possible, all you need is a WiFi connection, a smartphone, and a social media account that supports live streaming, such as:
- Youtube
- Twitter (Periscope)
If you want to stream live events on one of these platforms, simply start a live video within the app, point your camera at what you want to capture, and share the link with others.
This method gets the job done, but it won’t be high-quality by any means. However, if your event is simple or you don’t have a budget, then give it a try!
How to Livestream: The High-Quality Way
For more formal events, you’ll want a higher-quality live stream result that goes beyond pointing a smartphone camera at something and sharing it on Facebook Live. For livestreaming larger-scale events, follow these steps:
1) Plan Your Livestream
It may seem redundant, but make sure you’re fully prepared for the event you’re going to live stream. Ask yourself these questions to prepare:
- What is your ideal return on investment?
- Will you monetize the event?
- What’s your maximum budget?
- What type of sound system will be used at the event?
- How will you market the event and share it with the audience?
- Who is invited to attend in person?
- What is the event type? How many cameras will you need?
2) Select an Online Platform
To make your life easier, select an online platform to use when live streaming. Many professional live streaming platforms have HTML5 video players that can easily be embedded on your website and other social platforms.
That was a lot of big terms. But stay with us!
Using a professional streaming platform can handle large volumes of viewers, so you can reach a large audience and avoid glitches. Choosing a streaming platform with more features and a higher bandwidth will lead to a higher quality result.
Some great live streaming platforms include:
- Vimeo Livestream
- IBM Cloud Video
- Resi
- Brightcove
- JW Live
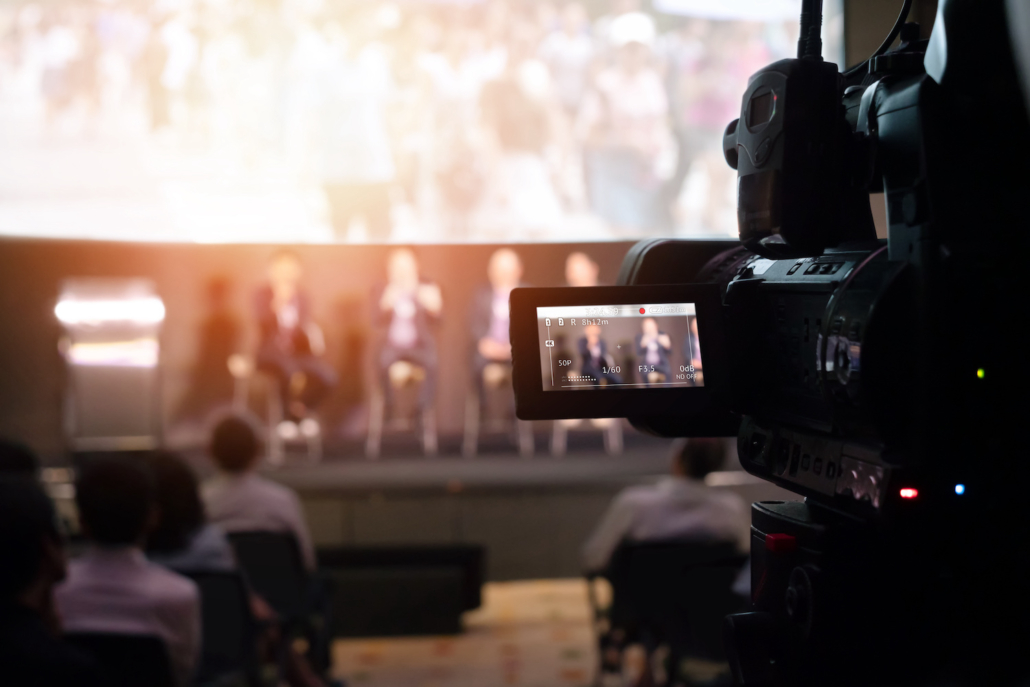
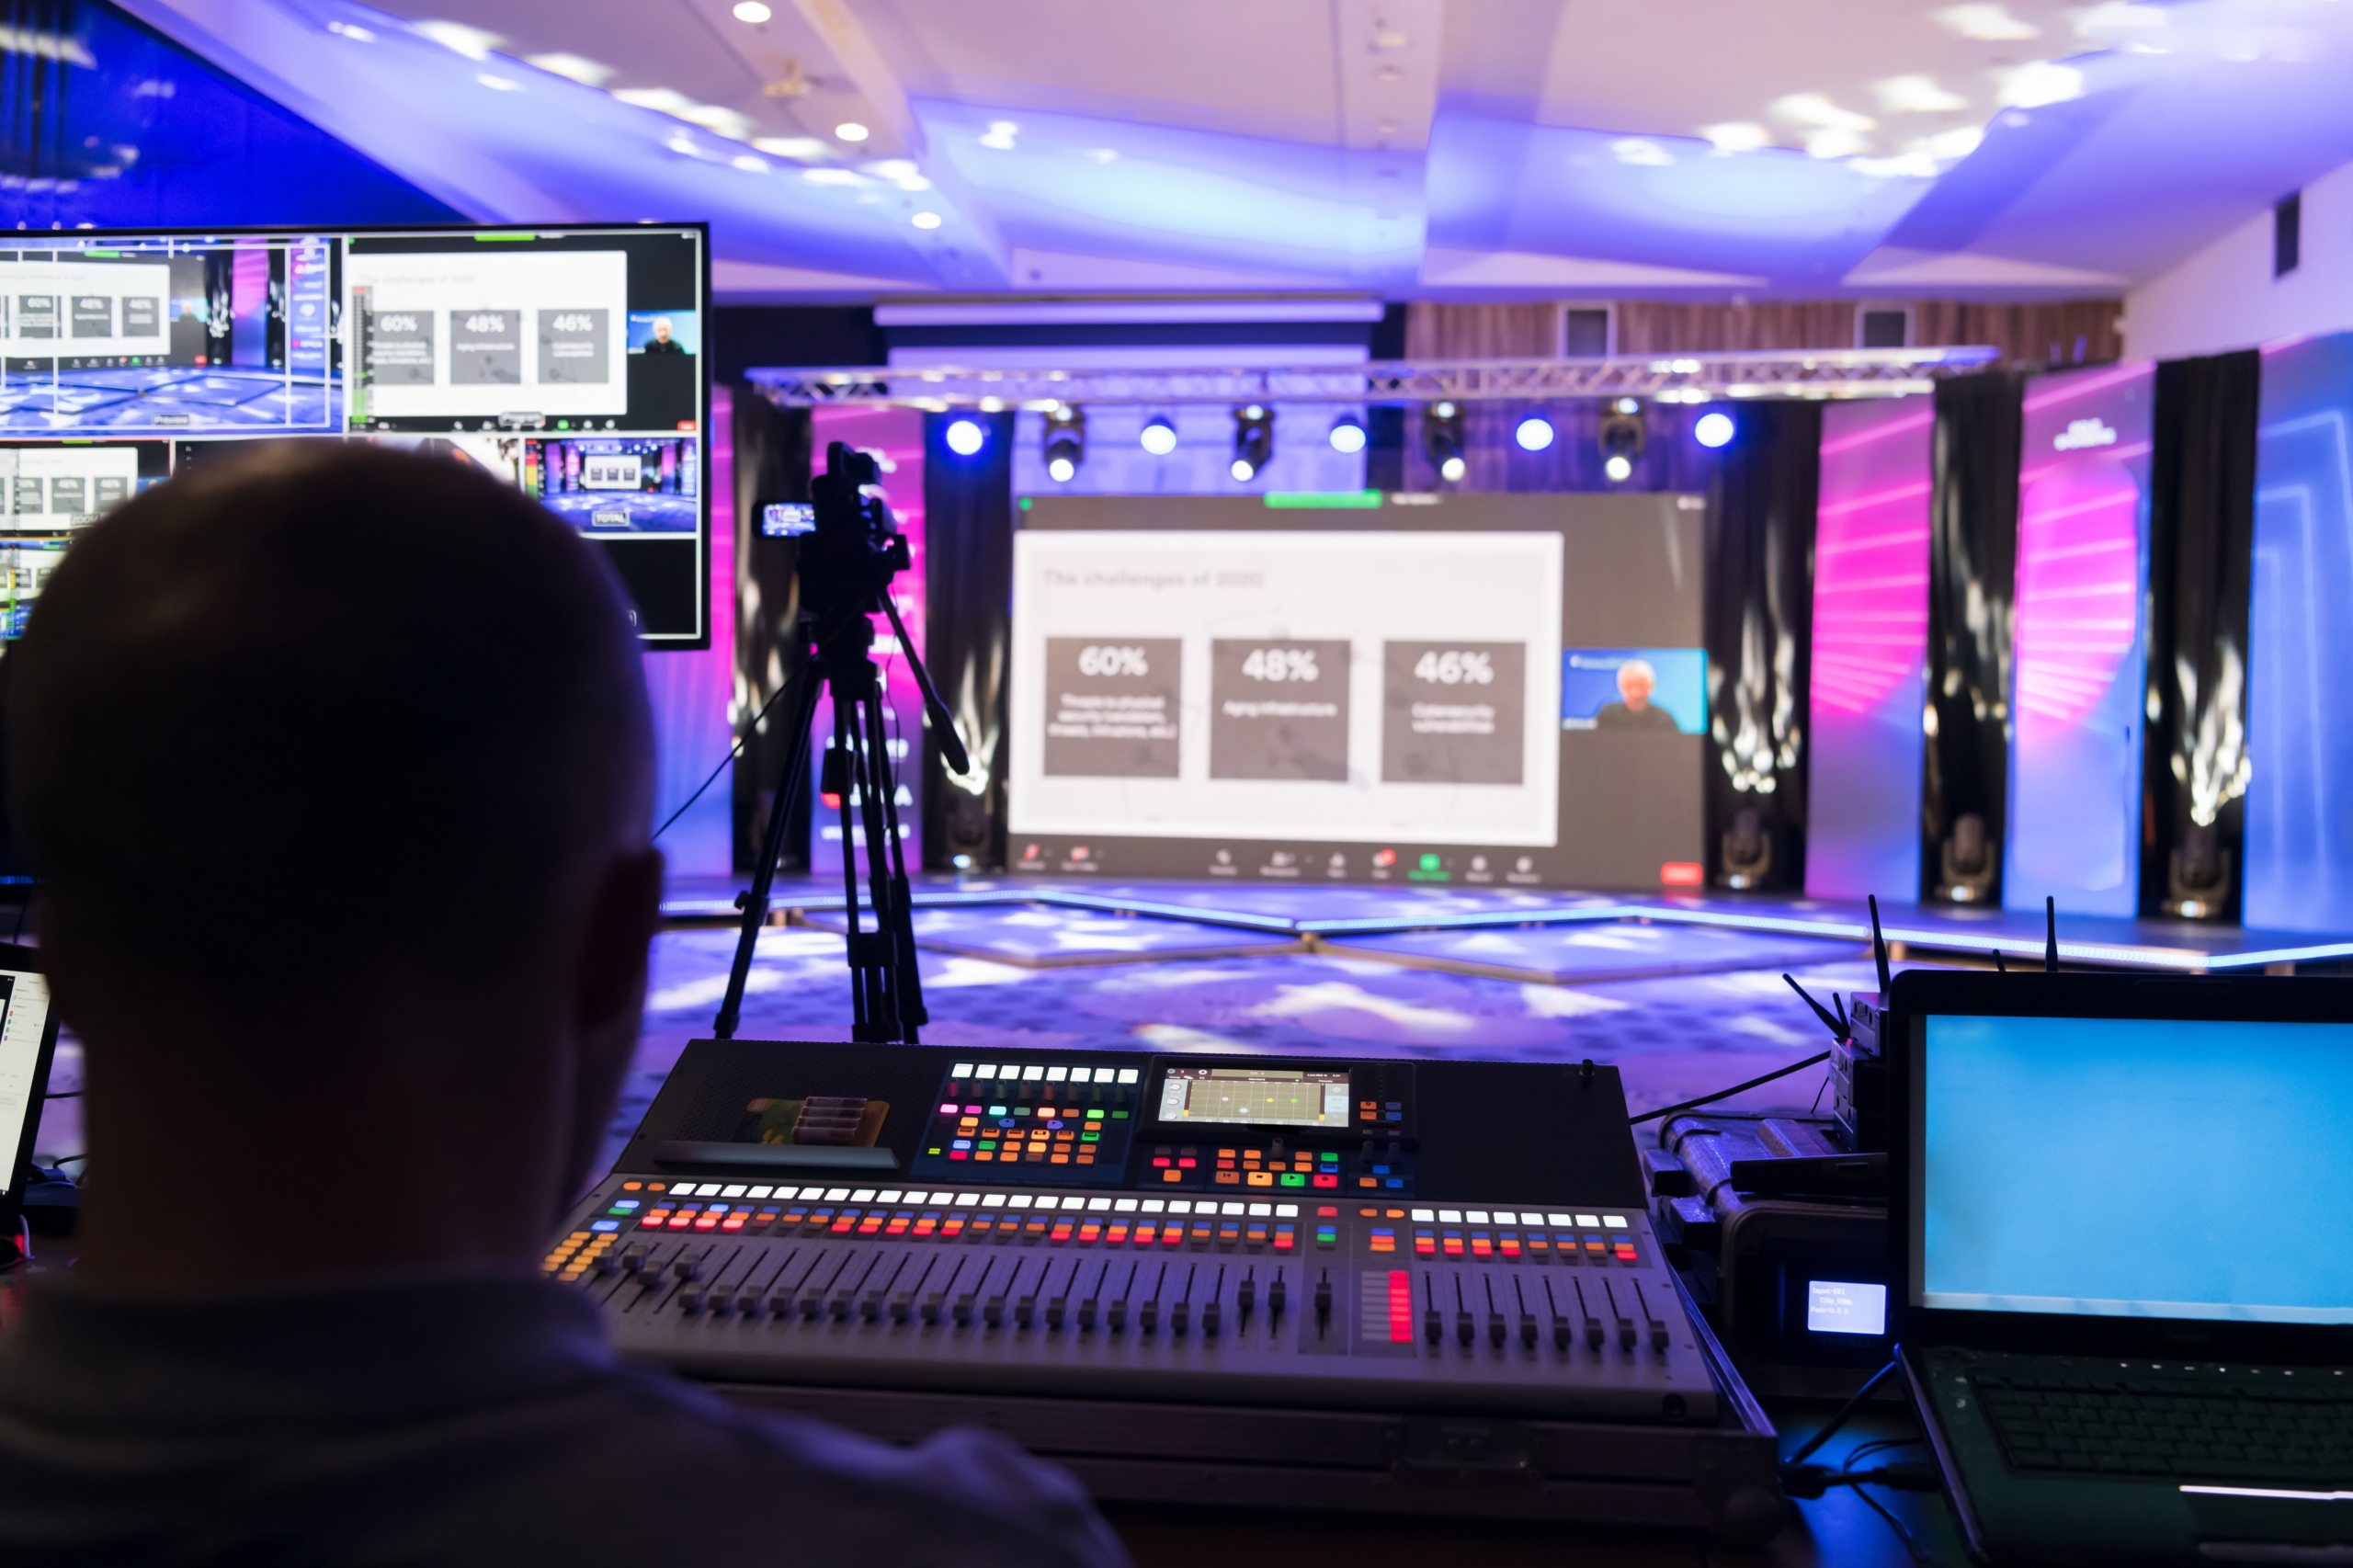
3) Set Up the Equipment

When you’re on location, you’ll need to set up your equipment to get the optimal picture and sound quality. For live streaming equipment, you’ll need:
- 🎥 Recording Camera: Opt for a high-quality, professional-grade video camera. You can start your search with Canon and Sony products!
- 🎤 Microphones: If you’re streaming a live event with a speaker, make sure to use an external microphone that connects to your camera to improve the overall audio quality.
- 💡 Lighting: Avoid a dimly lit event and bring extra lights. Ring lights can do the trick, or you can purchase a professional 3-point lighting kit.
- 🃏 Capture Card: Usually, when using a recording camera, you’ll need a capture card. Install the capture card on your computer and plug the camera into the capture card to stream.
4) Configure the Encoder
Encoding is something that compresses video files so that they’re saved as fluid videos, not images. You’ll need to use a video encoder to convert video files to streamable video files.
You can use software or hardware encoders that range in quality and price. Some encoders are free, while more advanced versions can cost a few hundred or a few thousand dollars.
Be sure that the encoder you choose is compatible with your preferred live streaming platform before you proceed!
5) Input Sources
When your encoder is set up, you’ll input your sources, which is fancy talk for connecting your equipment. Connect your cameras, microphones, and any other sources to your encoder to incorporate them into the stream.
6) Create a Live Channel
When using streaming software, it’s usually quite simple to create a live channel on the platform. This allows your video to broadcast in real-time rather than first being recorded and shared at a later time.
7) Embed the Stream
To attach the livestreamed video to your website, you’ll need to embed it. Again, your streaming platform should make it pretty simple for you to find the embed code and copy and paste it into the code of your website.
This allows you to create a custom link to share with viewers rather than sending them to a random platform.
There are two embed codes: JS and iframe. iframe embed codes are more universally used and compatible with most websites. JS codes are less popular, but they offer more flexibility with resizing the screen size.
8) Perform a Test Run
This is perhaps the most vital step. Always, always perform a test run before you officially go live! Once you’re live, you have a real audience, and mistakes are that much more detrimental. It’s much easier to troubleshoot issues before you have an audience.
It’s also a good idea to have backup equipment on hand in case anything goes kaput. If there’s any sort of dress rehearsal or sound check for the event, use that as an opportunity to run through what your stream will look like. There may be times when you need to point your cameras in different areas, so be prepared for those moments.
9) Go Live!
Start streaming a little bit before the event officially starts. You’ll switch your live channel to “online” and click “start streaming.” And then you’re live!
When the event is done, you can store the video as a recording. You can share the recording on your website or send it out to a list of paying customers— your call! This is one more perk that can help audience members feel included, even if they couldn’t watch the event live.
You Can Always Hand It Off to the Pros!
If you’re like most people, you might feel a little confused or even stressed out after reading this article. The thought of purchasing expensive equipment and navigating new software is enough to make anyone nervous!
That’s where Stringline Pictures comes in. Our seasoned video professionals know encoders, input sources, and embed codes like the back of our hands! Not to mention, we come equipped with the highest quality equipment in the industry.
If you want a professional result for your next live-streamed event, why not alleviate your stress by hiring Stringline to do the job for you? Reach out today to tell us more about your event— we’d be happy to help!

